3D panner
The 3D Panner is a standalone application meant to work in tandem with the Visual Stage app.
The purpose of the Panner is to provide an alternative display and spacial-positioning tool for the performers and the Virtual Camera contained in the Visual Stage app.
When the position of these objects is changed in the Panner, the changes are reflected in the main app, and vice versa.
The position and rotation values of the performers will be also sent to Spat Revolution to update the sound-scape configuration.
In Spat Revolution parlance, the performers are referred to as the Sources, and the Visual Stage virtual camera is referred to as the Listener.
The Panner is also used to edit paths created in the Visual Stage app.
Start Up
Section titled “Start Up”To start the Panner, open the 3D Panner.maxpat file in the Telematic-Theater folder.
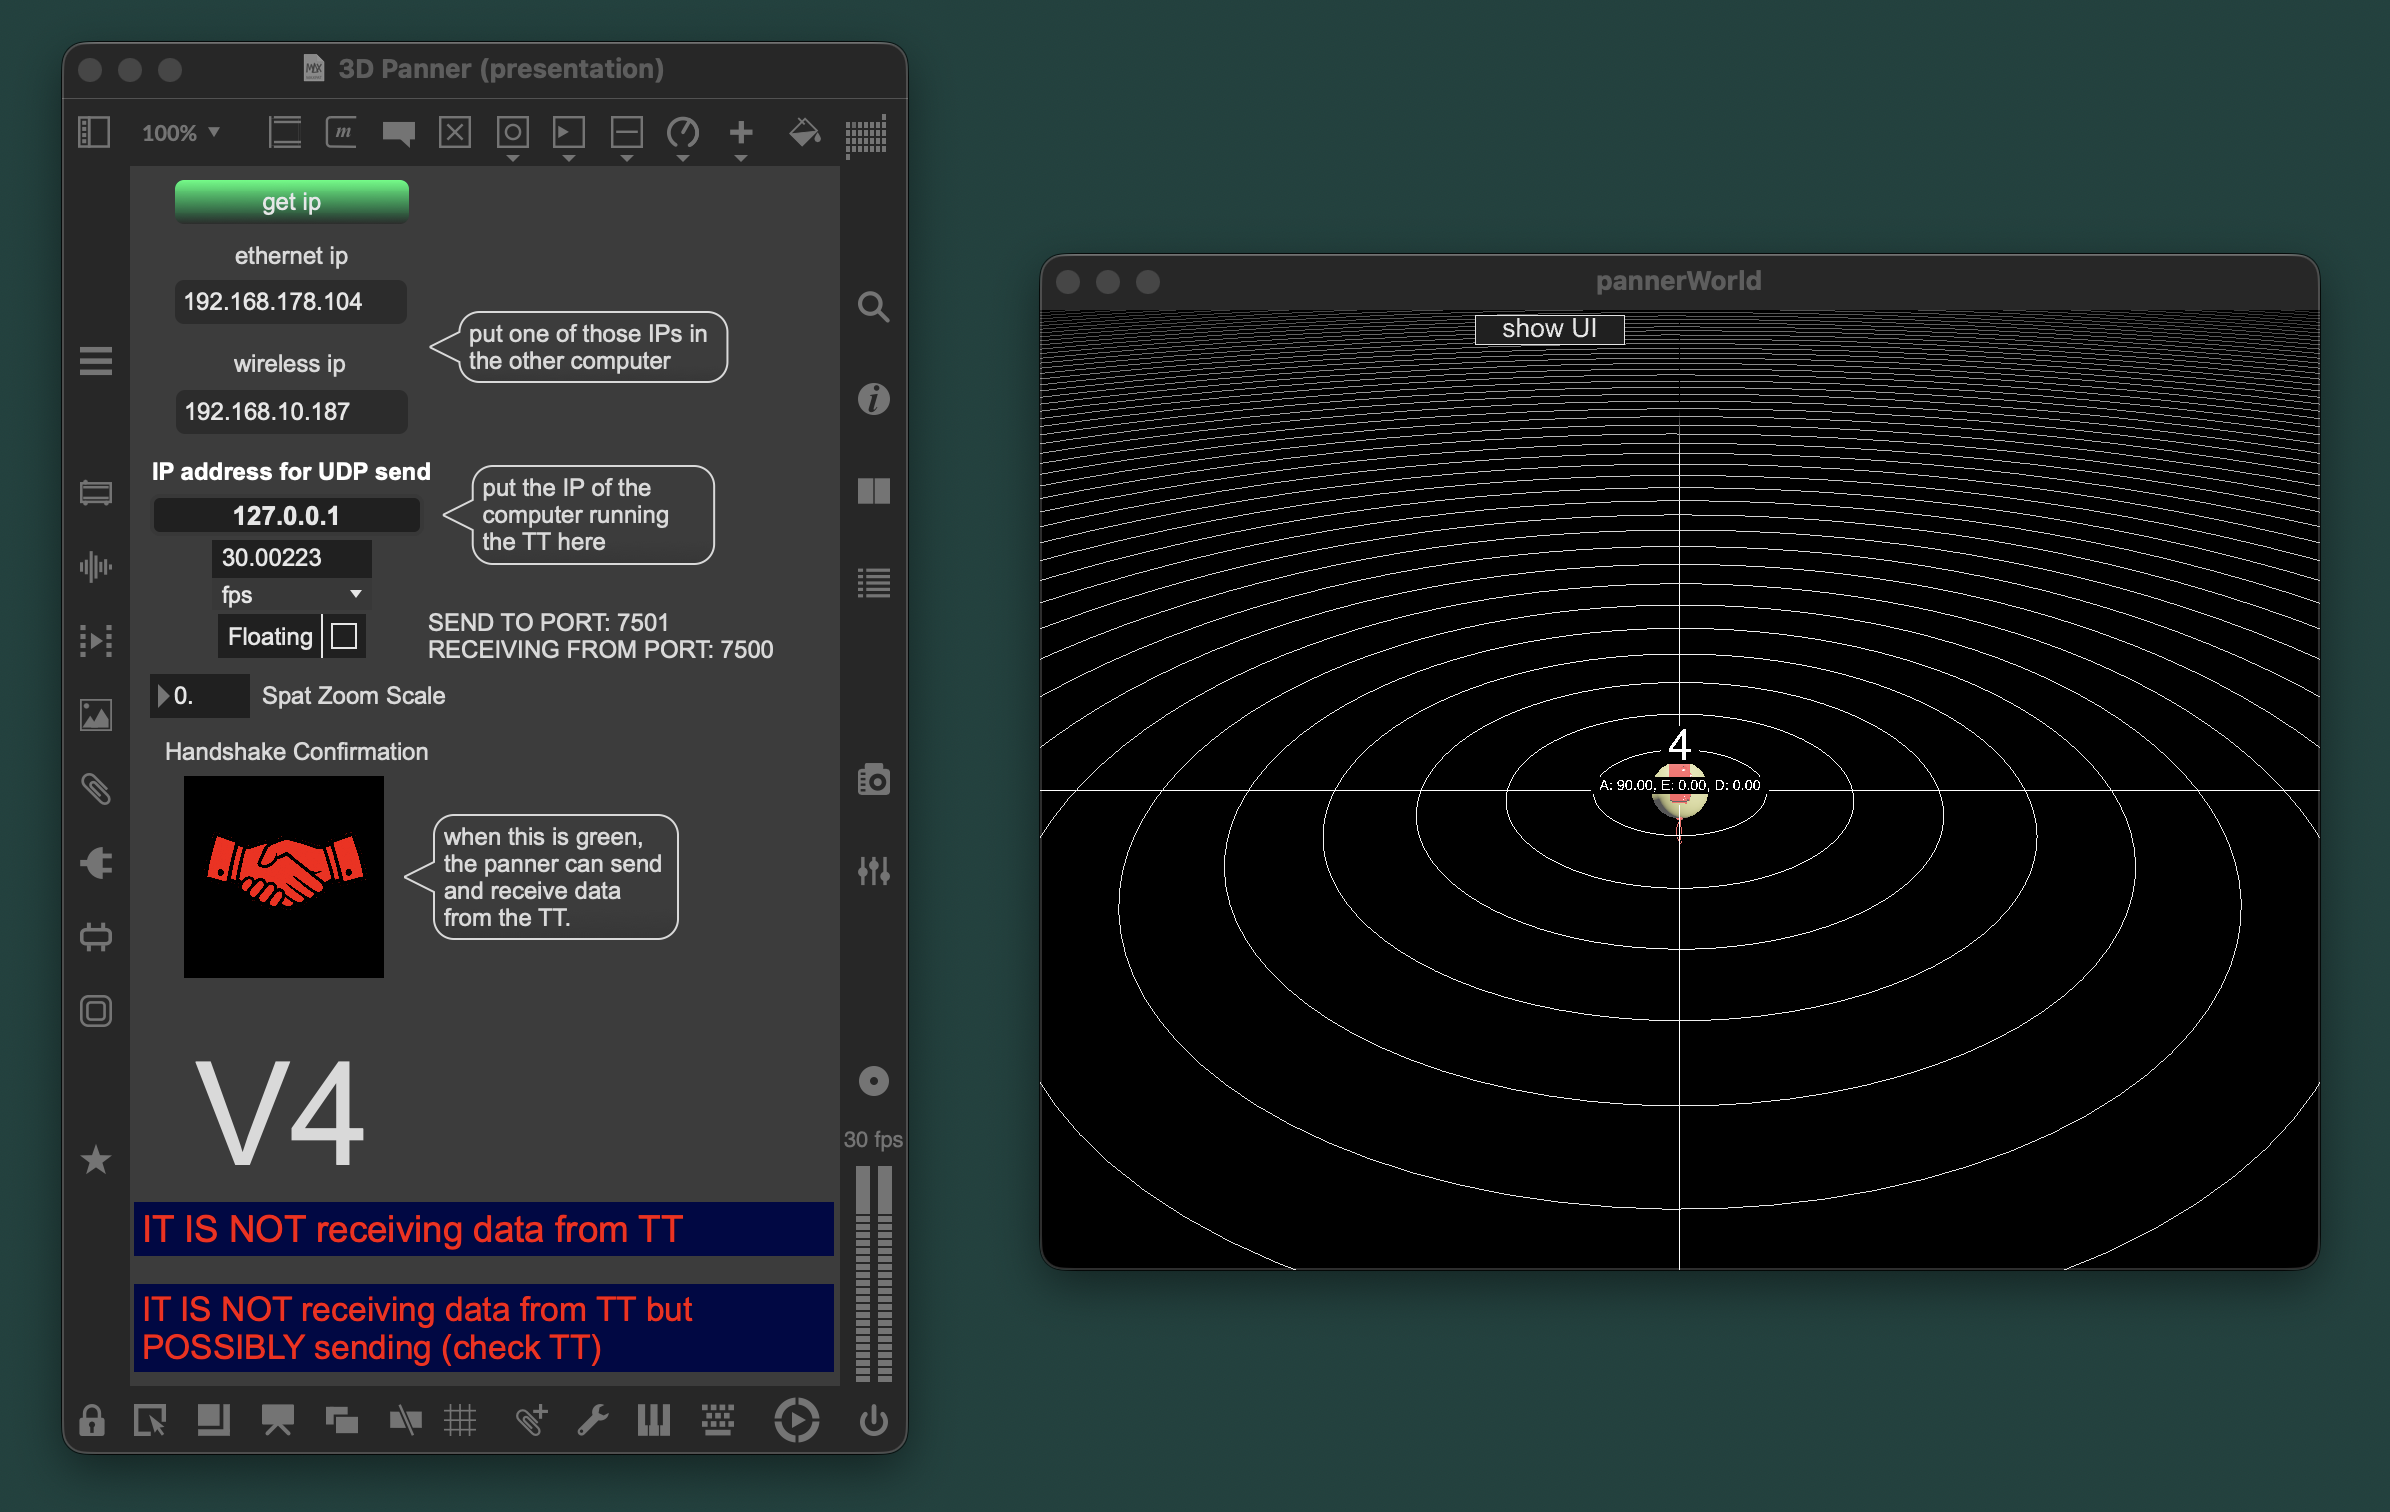
It should appear as a Max patcher and a detached rendering window:
3D Panner Sections
Section titled “3D Panner Sections”Let’s take a look at the different sections in the patcher and in the pannerWorld window that allow you to configure and use the Panner.
Handshake
Section titled “Handshake”This section is related to configure the Panner so that it can communicate with the Visual Stage app.
Starting from the top of the Panner patcher, we have the get ip button:
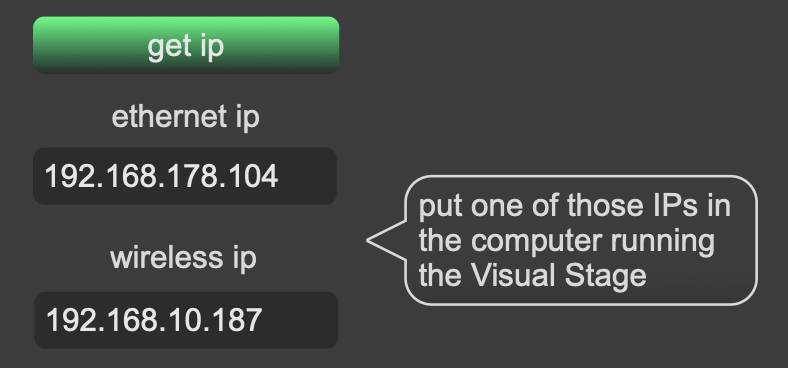
This is automatically triggered when the Panner is loaded, and will display the ethernet ip and the wireless ip.
One of these addresses should be input in the Visual Stage patcher, in the Network module (see Network ).
If the computer running the Panner and the computer running the Visual Stage are connected through an ethernet cable, the ethernet address should be the preferred one to input in the Network module in the Visual Stage patcher.
The next section in the patcher provides a field to input the IP address of the computer running the Visual Stage app:
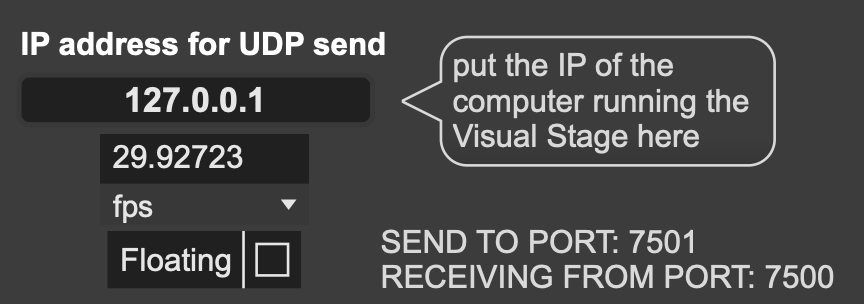
Here you’ll need to input the address shown in the Network module of the Visual Stage patcher.
There’s also a frame-rate indicator (default 30 fps) and a button to enable or disable the rendering window floating attribute (if on, the window doesn’t disappear behind the patcher).
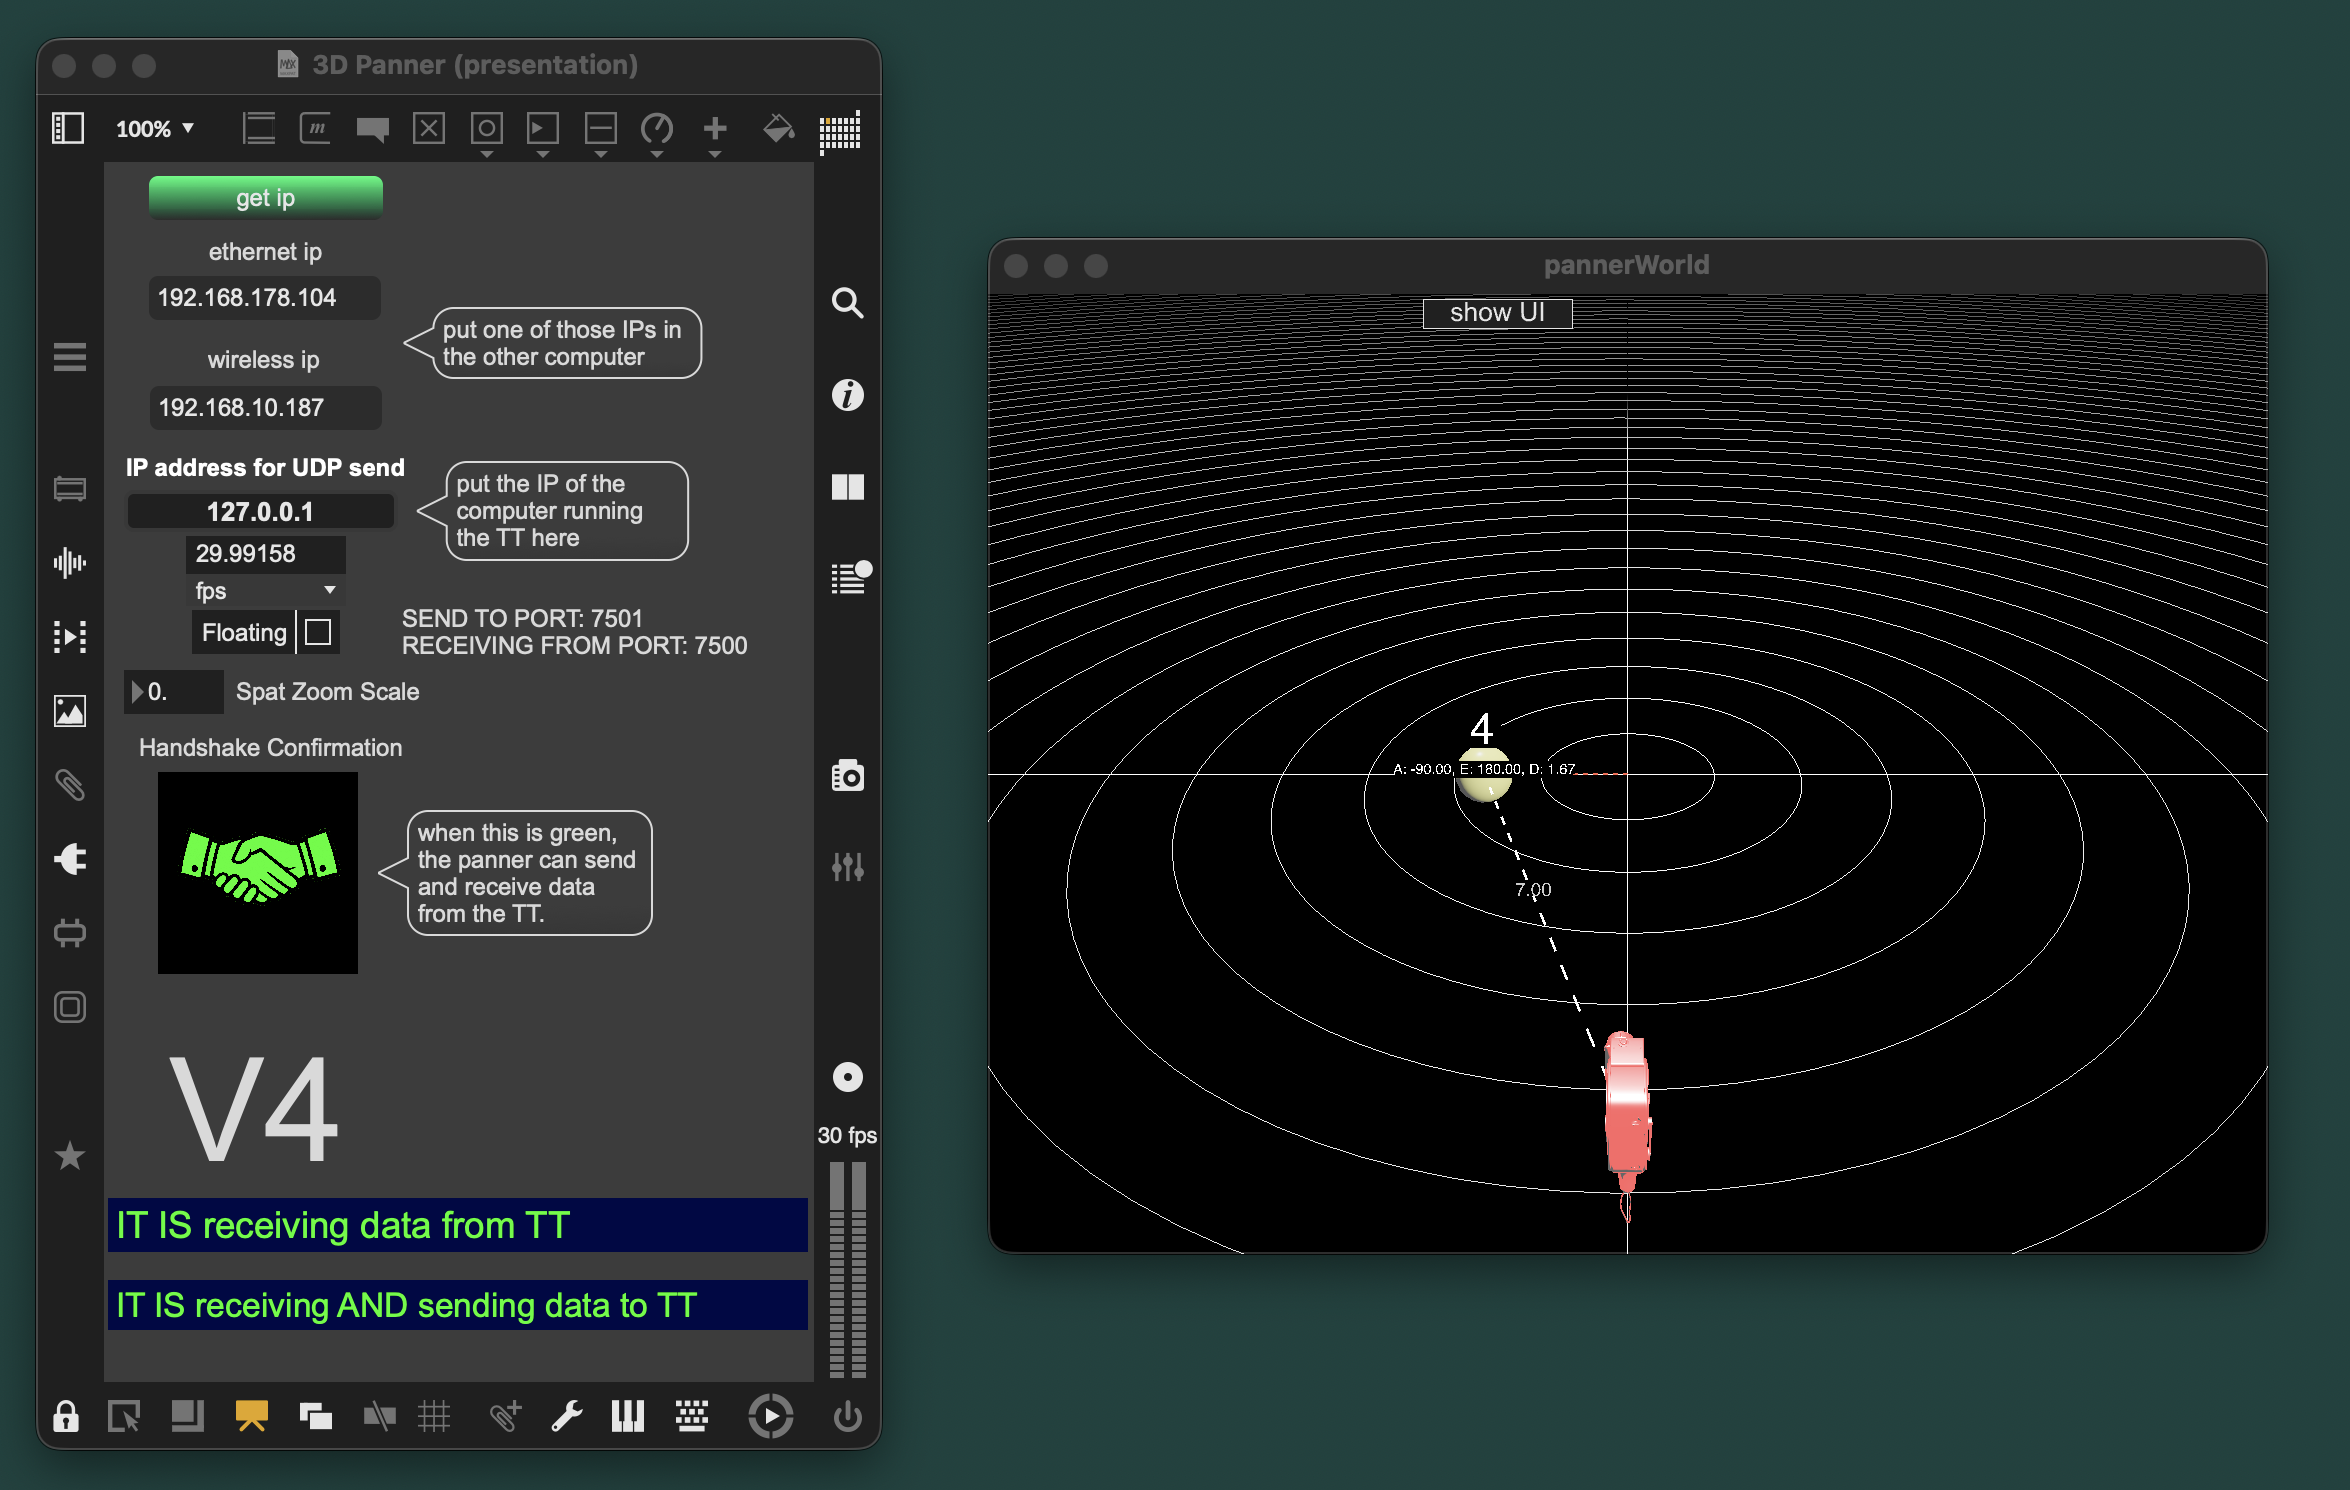
With the Panner and the Visual Stage applications open, if all the IP addresses are input correctly, you should see a green handshake icon and green text showing that the Panner and the TT are now ready to exchange data:
pannerWorld Window
Section titled “pannerWorld Window”The 3D spheres in the pannerWorld rendering window represent the Performers in the Visual Stage app, while the pink Camera 3D model represents the Virtual Camera (the point of view of the scene in the Visual Stage app).
You can change the position of an object on the plane parallel to the camera view plane in the pannerWorld window by pressing cmd and dragging the object with the mouse.
To move the object away or towards the camera, press option and drag with the mouse.
To simply rotate an object just click and drag on it with the mouse.
If the position of the performers or the position of the camera is changed in the Visual Stage, this change is reflected in the Panner rendering window.
Vice versa, if the position of these objects is changed in the Panner using the mouse, the change is reflected in the Visual Stage app.
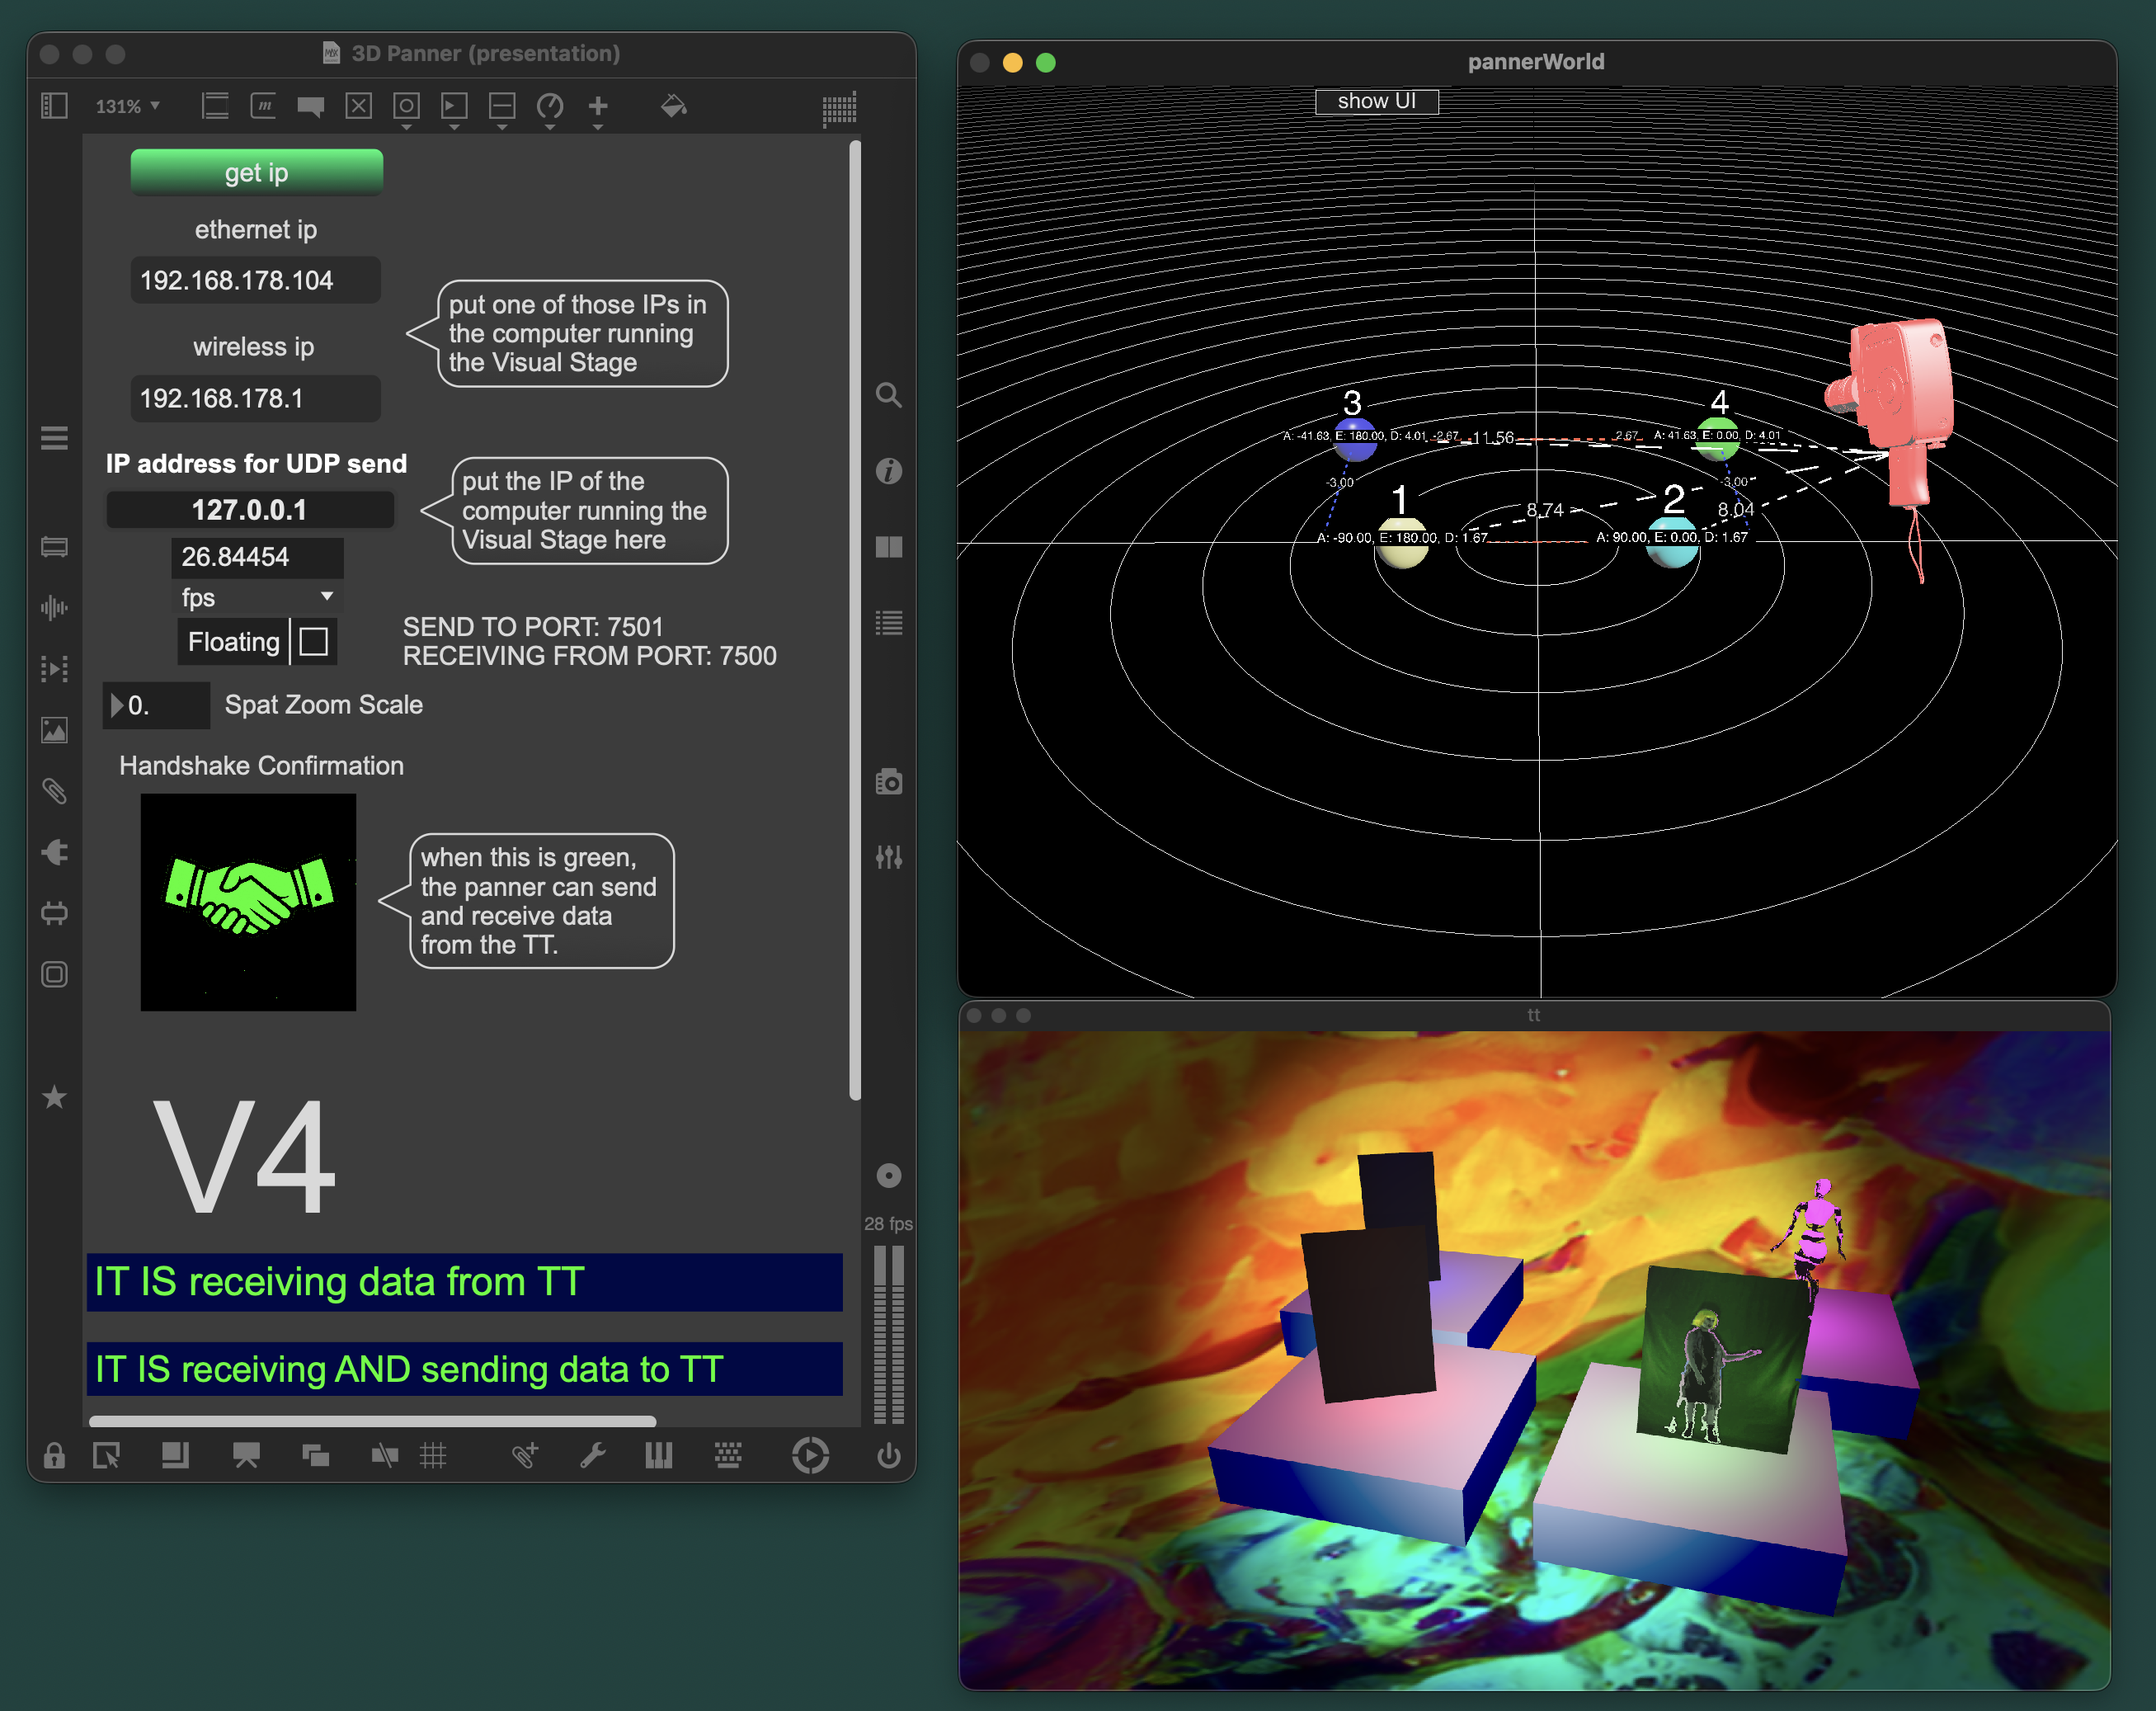
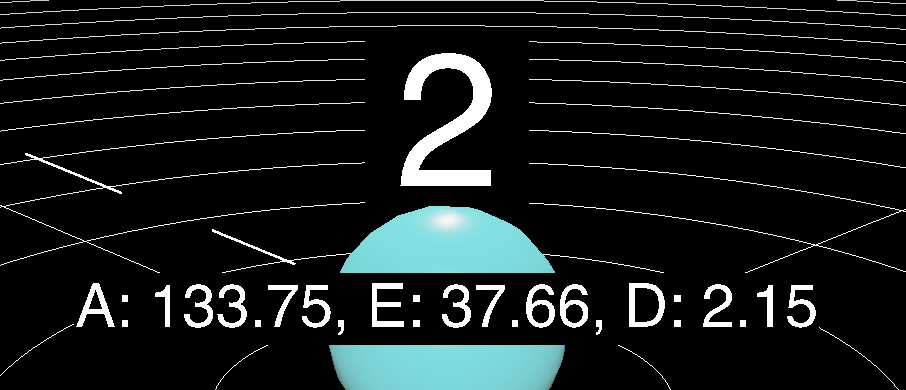
Each sphere has a label with the values for Azimuth (horizontal angle with the north of the virtual world), Elevation (vertical angle from ground) and Distance (distance from the centre of the virtual world, in Spat units).
The Elevation and the Azimuth are expressed in degrees, Distance is expressed in Spat units.
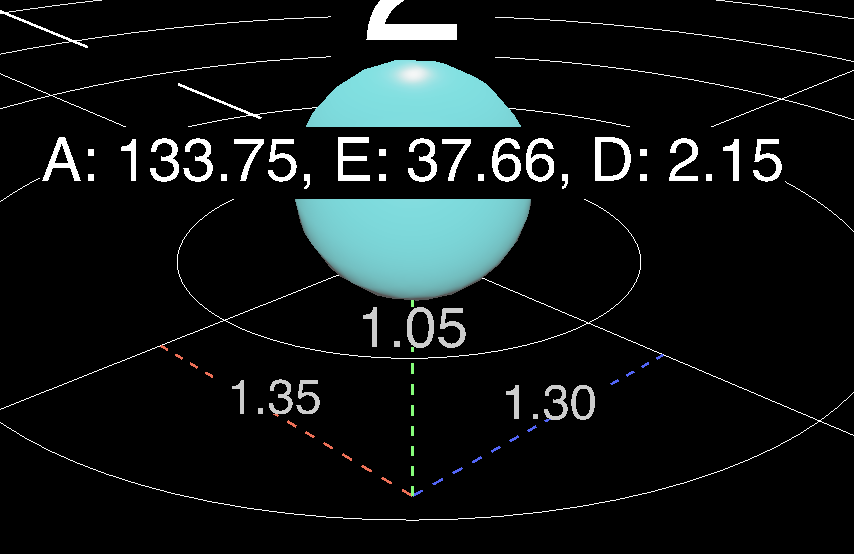
Besides the label, each performer has three lines that show its distance from the X (red), Y (green) and Z (blue) axis, in Spat units:
Window UI
Section titled “Window UI”If we click on the show UI button in the pannerWorld rendering window 
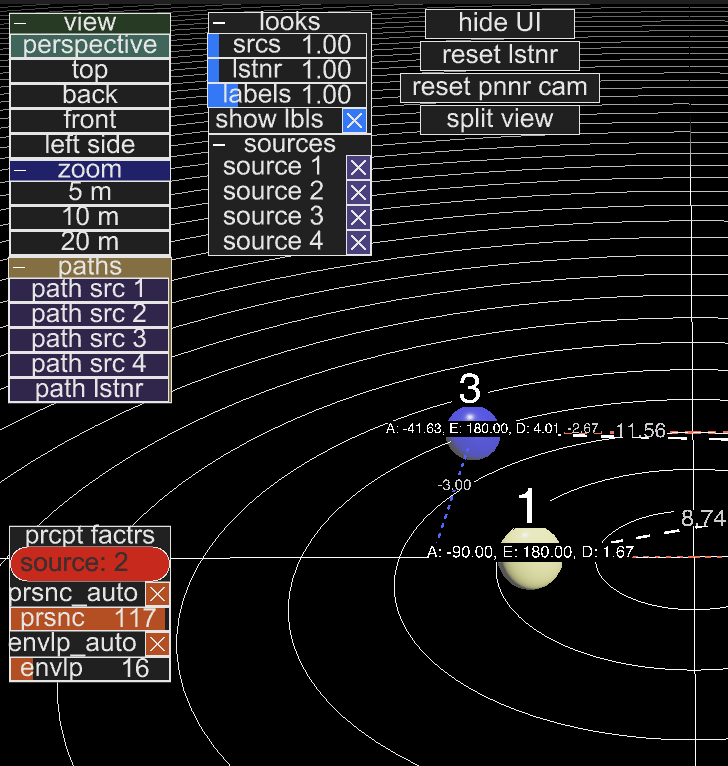
Starting from right to left we have the first block of buttons:
hide UI: will hide the UI and transform the button inshow UI.reset lstnr: will place the pink Camera (and consequently the virtual camera in the Visual Stage) at the centre of the virtual world (coordinates 0,0,0).reset pnnr cam: will place the Panner virtual camera at the centre of the virtual world (coordinates 0,0,0).split view: splits the Panner rendering window in two, on the horizontal axis. This provides a second, editable view, to observe the position of the objects from a different angle: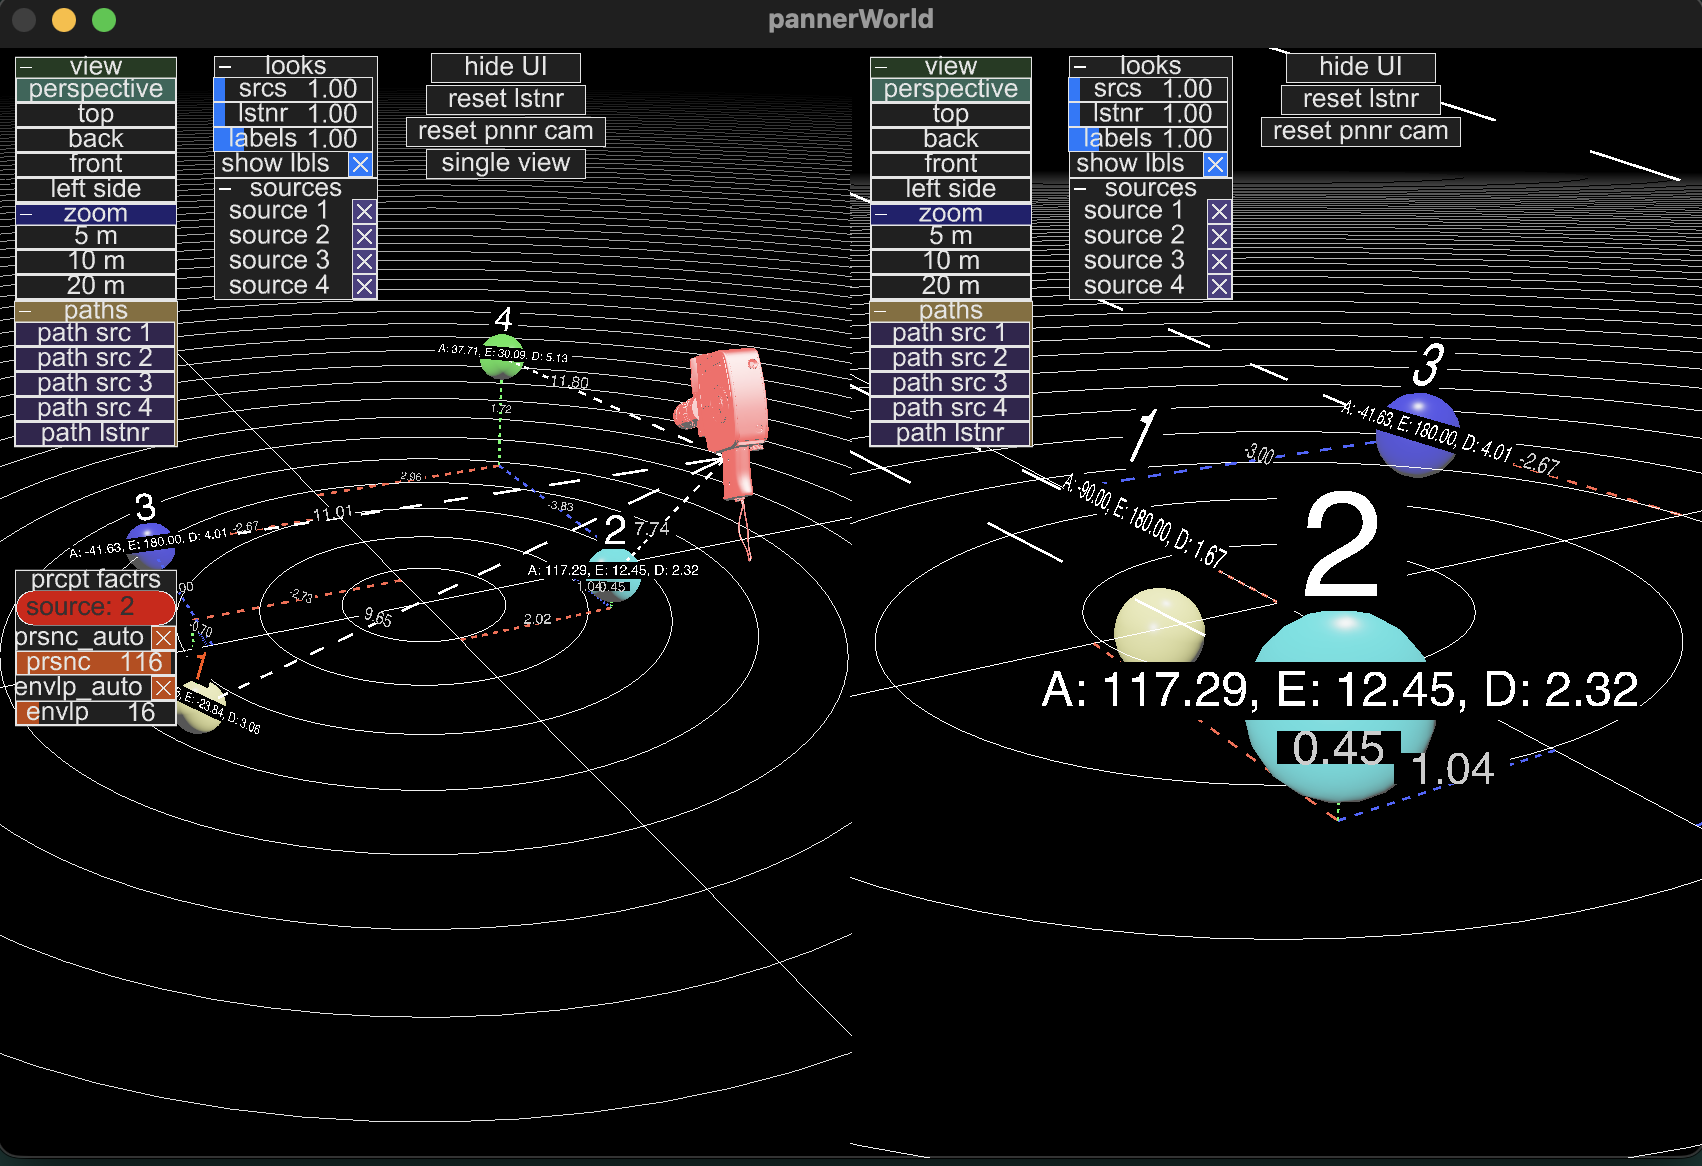
Going from right to left we then have the second block of UI elements:
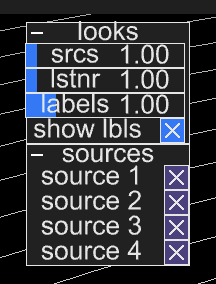
The first menu is titled looks, and provides the following controls:
srcs: the size of the spheres representing the Performers / Sources.lstnr: the size of the camera representing the Listener.labels: the size of the labels showing the position values.show lbls: hide or show the labels completely.
The menu below is titled sources, and shows four toggles to hide / show the Performers spheres in the Panner window.
Proceeding to the right we encounter the last block of menus:
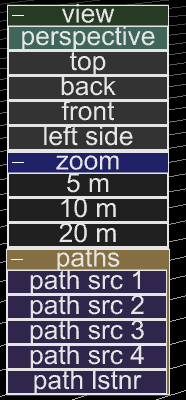
The view menu allows the user to switch to a different view of the scene:
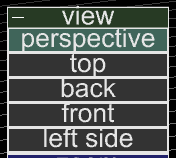
Possible views are:
Perspective: you can use the w a s d q z keys to move the Panner camera in the virtual world, and look at the scene from every possible angle.
The camera always looks at the centre of the virtual world.Top: top down view.
The only possible movement for the Panner camera is to go up or down on the virtual world Y axis.Back: view from behind the scene.
The only possible movement for the Panner camera is to go backward or forward on the virtual world Z axis.Front: view from the front of the scene.
The only possible movement for the Panner camera is to go backward or forward on the virtual world Z axis.Left Side: view from the left side of the scene.
The only possible movement for the Panner camera is to go backward or forward on the virtual world X axis.
The zoom menu allows the user to quickly zoom in or out from the current view of the scene:
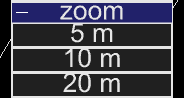
- 5 Spat units
- 10 Spat units
- 20 Spat units.
The zoom distance is expressed in Spat Units, and it is correlated to the physical size expressed in Spat Revolution.
The last menu on this block is the paths, which contains five buttons:
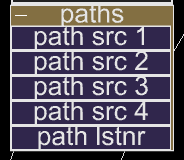
When one of these buttons is clicked, it will open the Path Creator module relative to the index of the performer.
The button with the label path lstnr will open the Path Creator Module for the Camera in the Visual Stage app.
The last menu in the pannerWorld window UI is the prcpt factrs:
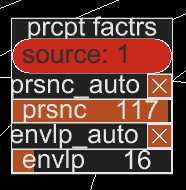
This menu shows the current perceptual factors state of each source / performer.
The number in the red oval is the index of the currently selected source in the Panner.
The perceptual factors automatic calculation can be enabled or disabled using the respective toggles.
Paths in the 3D Panner
Section titled “Paths in the 3D Panner”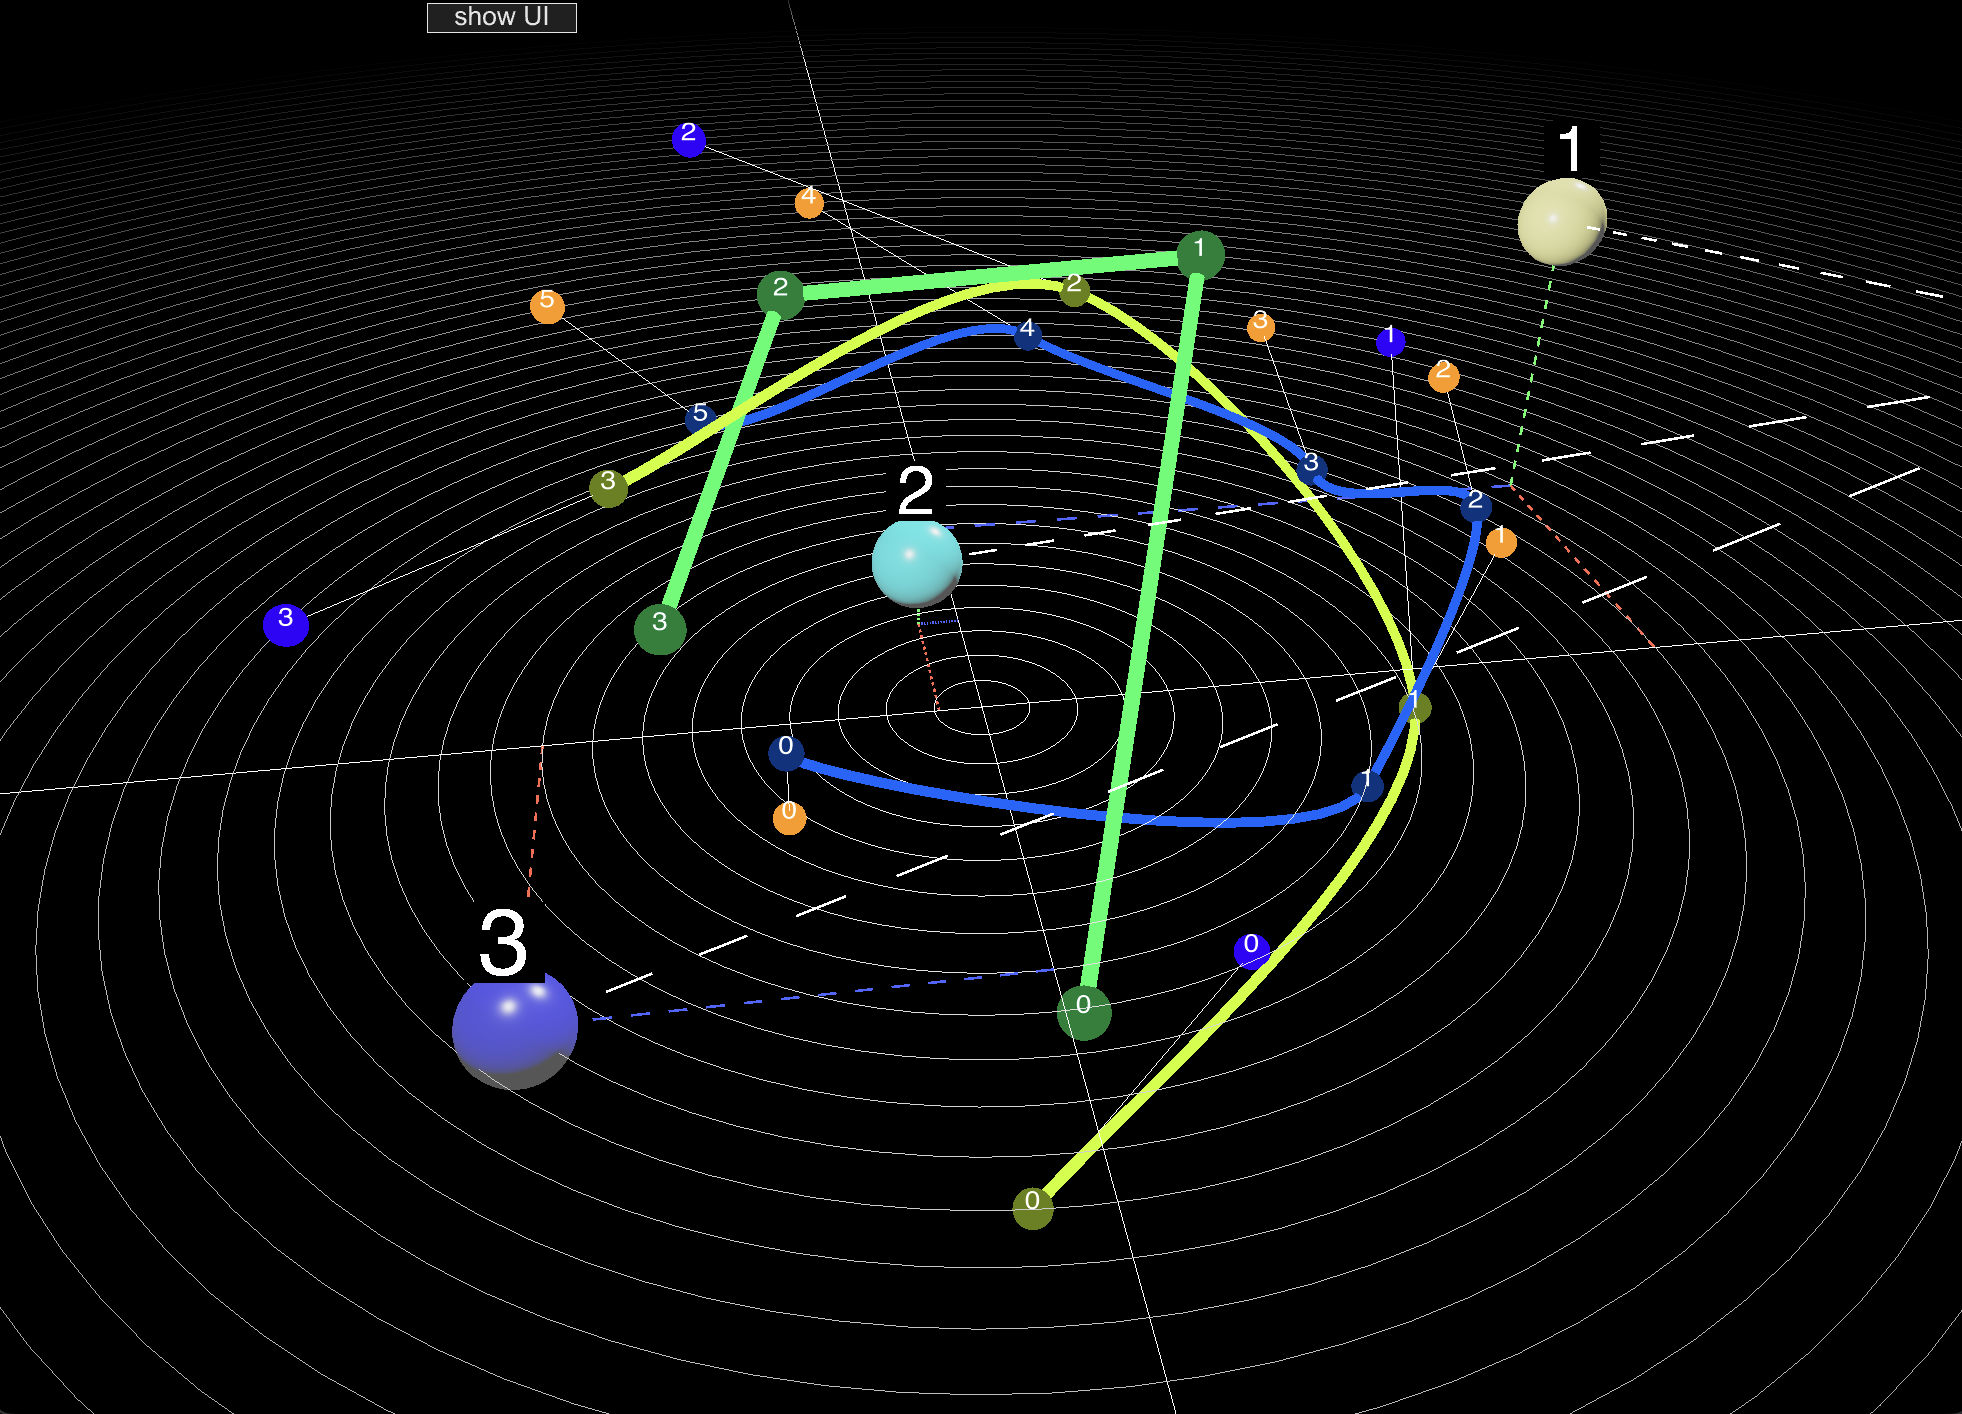
The Panner can be used to modify Paths, for more info on how to do this refer to the Path Creator page.